User Interface
Older/Work In Progress Page
- This page was initially written for an older version of Helix, has not been updated, and may be out of date!
- Contributions are more than welcome (see buttons at the top right of the page).
import { ReferenceLink } from 'site/docs/components/_nanos.mdx';
How to display information in the Screen for the Player.
In HELIX there are 2 official ways of plotting screen data: WebUI and Canvas.
Warning
We highly recommend using WebUI instead of Canvas to create your UIs 😉.
WebUI#
With WebUI you can load HTML pages which integrate with your Packages in Lua using Events.
Basic WebUI Setup#
This sample code shows how to add a basic page using HTML+JavaScript with the WebUI class.
Info
Note: All WebUI code runs on Client side!
Client/Index.lua
-- Spawns a WebUI with the HTML file you just created
MyUI = WebUI("My UI", "file://UI/index.html")

-- When the HTML is ready, triggers an Event in there
MyUI:Subscribe("Ready", function()
    MyUI:CallEvent("MyAwesomeEvent", "Hello! You are ready!")
end)

MyUI:Subscribe("MyAwesomeAnswer", function(param1)
    Console.Log("Received an answer! Message: " .. param1)
end)
Client/UI/index.html
<html>
    <head>
        <script src="index.js"></script>
    </head>
    <body>
        Hello World!
    </body>
</html>
Client/UI/index.js
// Register for "MyAwesomeEvent" from Lua
Events.Subscribe("MyAwesomeEvent", function(param1) {
    console.log("Triggered! " + param1);

    // Triggers "MyAwesomeAnswer" on Lua
    Events.Call("MyAwesomeAnswer", "Hey there!");
})
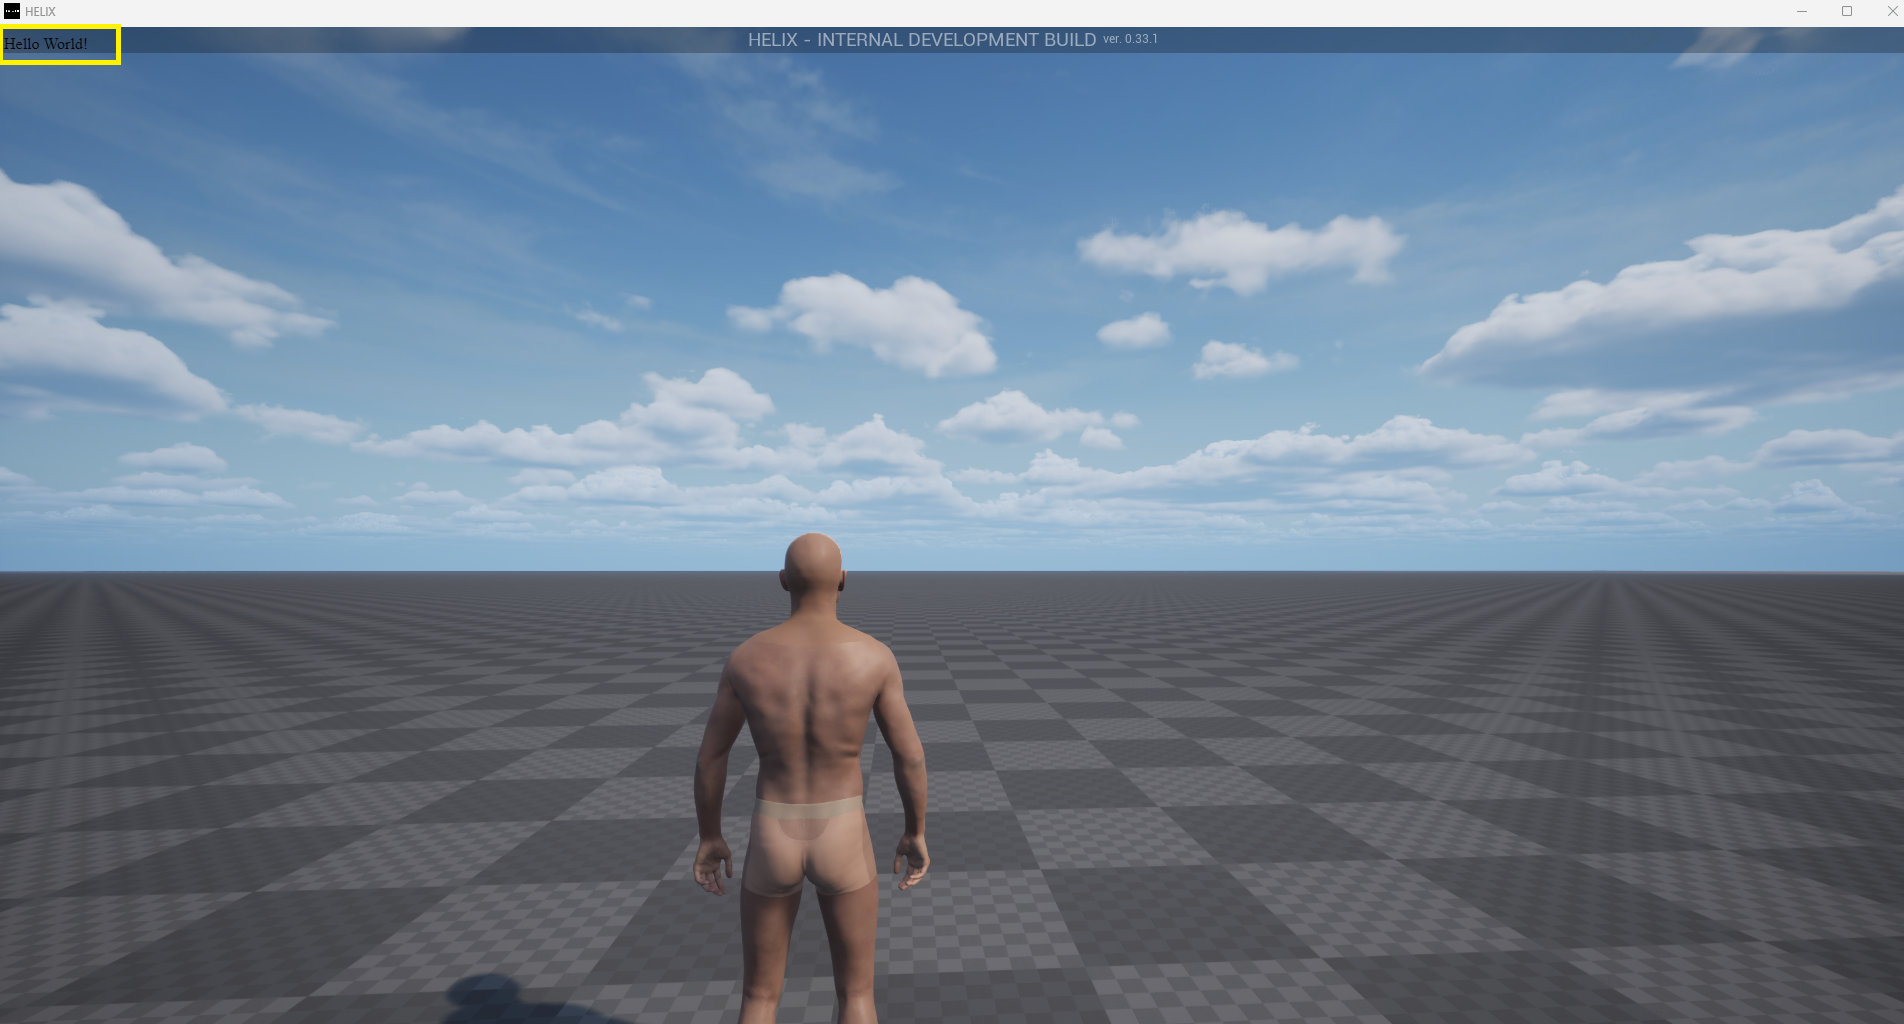
This will output:
[WebUI]  Triggered! Hello! You are ready!
[Script] Received an answer! Message: Hey there!